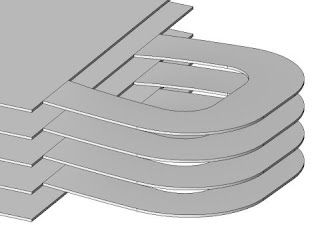
How to create a curved ramp in Revit
This question was asked today during my hectic hours in our office by a co-worker. It seems this might be difficult as one may think. After regrouping my memory during my way back home, a light goes on in my mind. Forget about my colleague suggestion, keep an open mind as you do in the past and do not use the sub element point tool in floors as he was planning to do so.
For this case, you do not have to think of creating a mass nor using the sub element point to reflect the level it was to go up. Very simple, you just create the curved ramps with Revit Ramp tool itself. It is there, just look at the Revit Help if you do not know how to use it. Take a good look at the options, because to create curved ramps are there. The easiest way to add a ramp is to sketch a run. However, the Run tool limits the design of your ramp to straight runs, straight runs with landings, and spiral ramps. You need some guide lines to do the job.
Tip: The default settings for the Top Level and Top Offset properties may make the ramp too long. Try setting the Top Level to the current level, and the Top Offset to a lower value.

No comments:
Post a Comment